

Rain Tutorial

Step 1: Open up the picture you want to work on, I picked this picture from my Shanghai update.
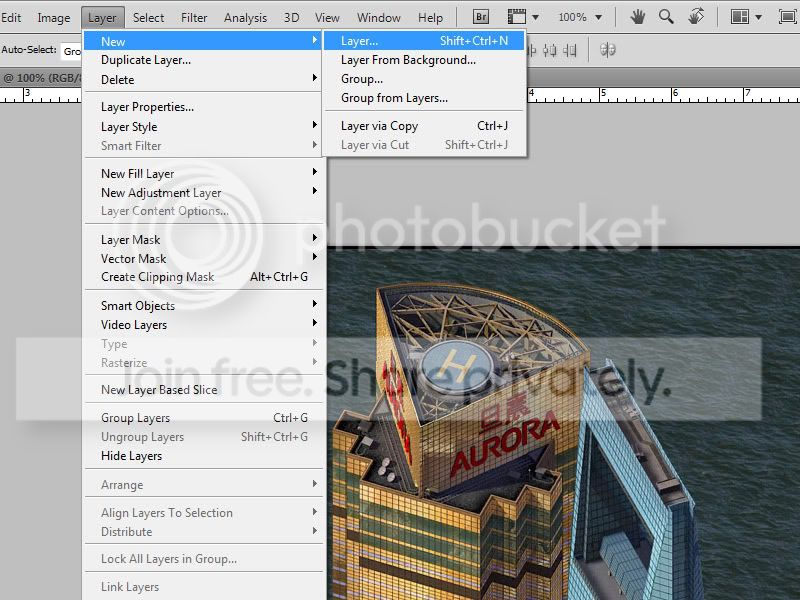
Step 2: Go to Layer, and down to New > Layer
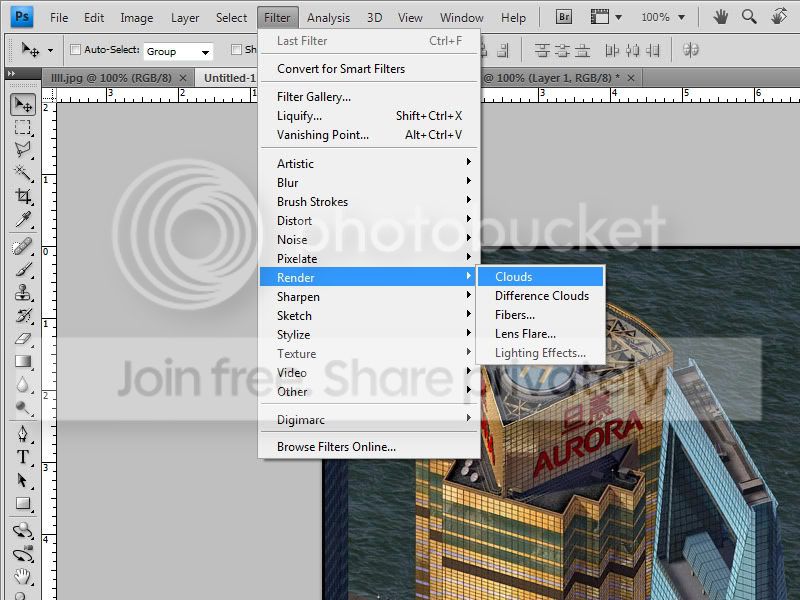
Step 3: Go to Filter > Render > Clouds, make sure your colors in the tool menu are black and white.
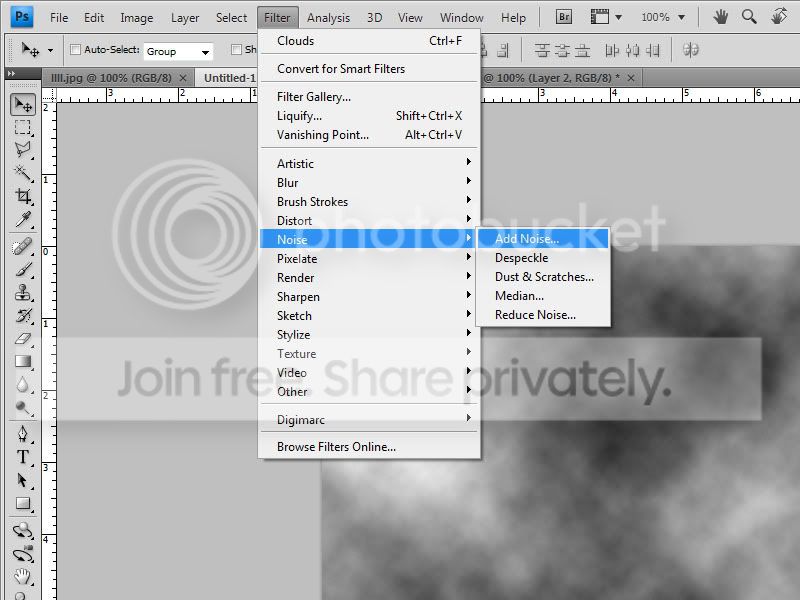
Step 4: Now go to Noise > Add Noise
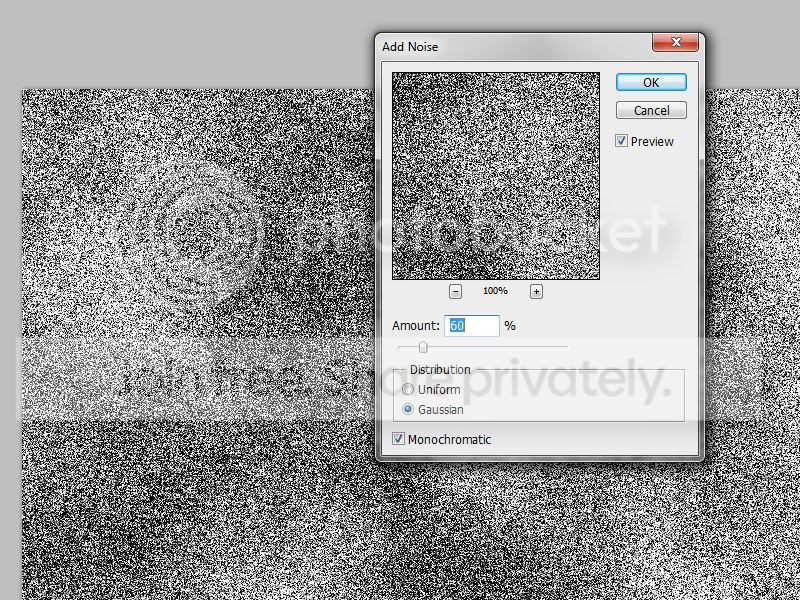
Step 5: A pop up will come up, choose these settings.
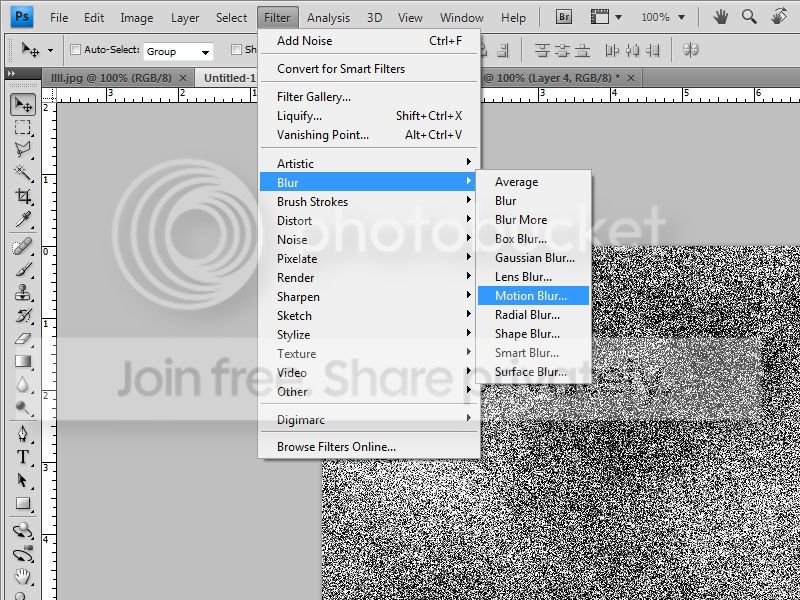
Step 6: Now, go to Blur > Motion Blur
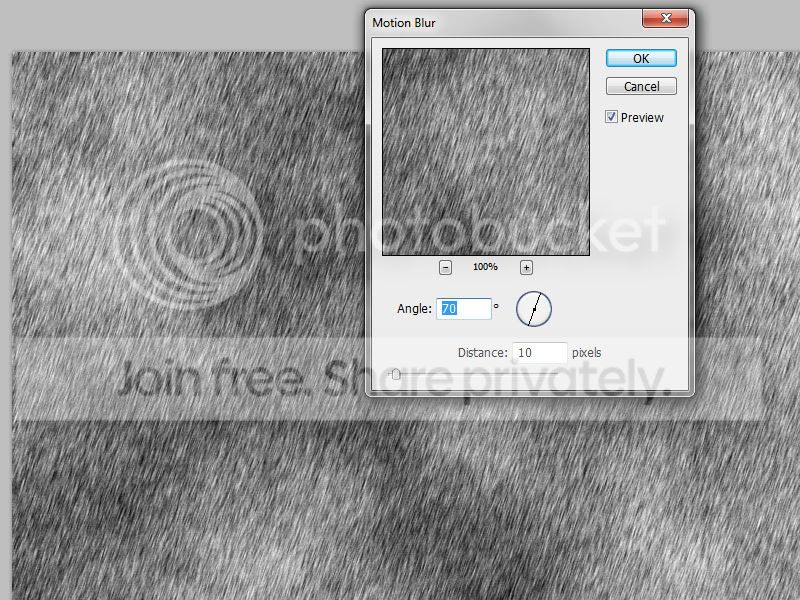
Step 7: A popup will also come up, choose these settings.
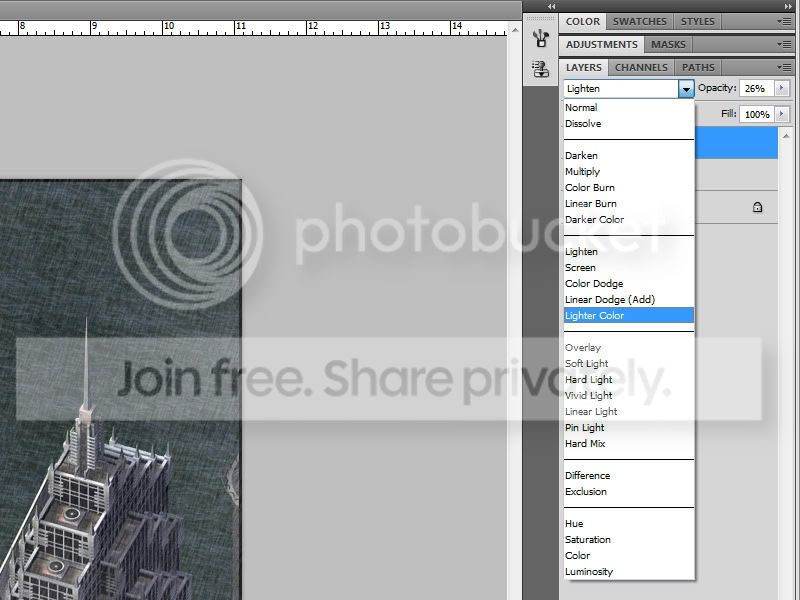
Step 8: Go to the layers tab on the right side, and change the opacity to a number around 30% and change the blending to Lighter Color if you'd like.
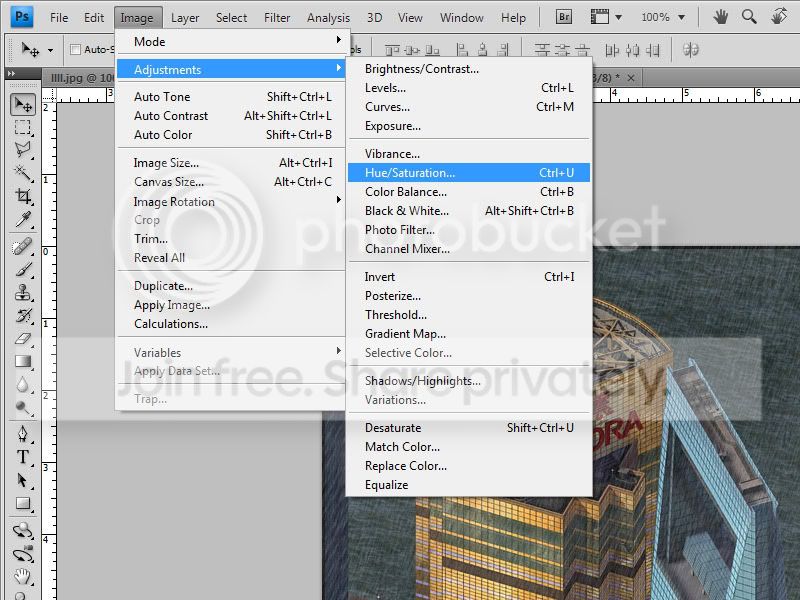
Step 9: It looks a little too colorful for a rainy day, so go to Image > Adjustments > Hue Saturation. Make sure you are doing this to layer 1, saturating the rain won't really do much.
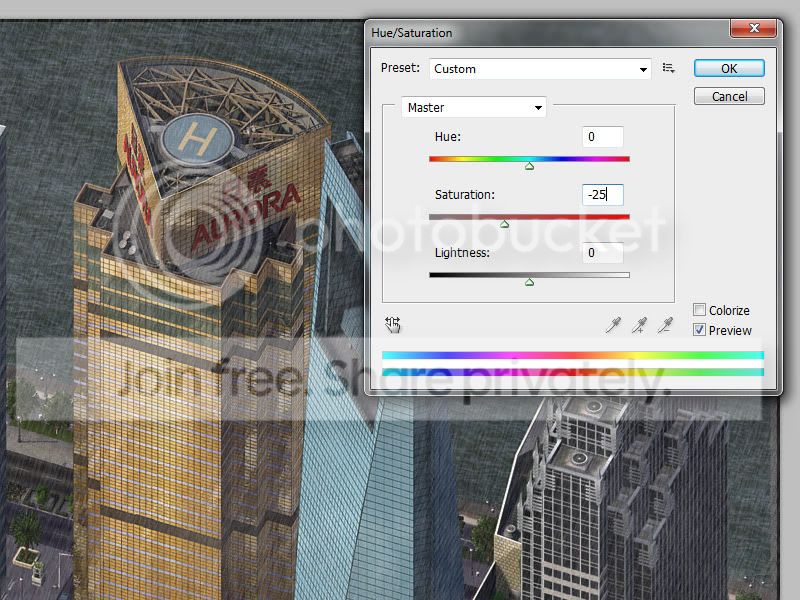
Step 10: Change the saturation to around -25 and you're done!

20 Comments
Recommended Comments
Sign In or register to comment...
To comment in reply, you must be a community member
Sign In
Already have an account? Sign in here.
Sign In NowCreate an Account
Sign up to join our friendly community. It's easy!
Register a New Account