


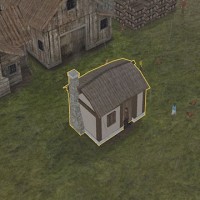
Creating a 3d model house in blender and making it available in the Banished Game by Discrepancy
Tutorials created by Discrepancy and posted on the "World of Banished" website on creating a 3d model house in blender and making it available in the Banished Game
Any questions please post them in this Q&A in the Banished Club
https://community.simtropolis.com/forums/forum/374-questions/
Part 3 - In part 3 we will be adding the (AO) Ambient Occlusion, creating the texture file, the build models and adding the points.
.... baking the AO
In 'Object Mode', add a new plane, align it to 0,0,0. Scale it so that it is larger than the house:

We add this to stop light shining through the bottom of the house when new bake the AO.
Select the house model, and in the properties window select 'World' (15), then activate 'Ambient Occlusion' (16), adjust the 'Gather' sample count to 10 (17).

Now click on the 'Render' tab (18), scroll down until you find the 'Bake' section, change the Bake mode to Ambient Occlusion (19), change the margin to 10px (20)

Now in the houses 'Edit mode', select all, and then in the UV view, click on 'Image' – 'New Image', keep all the default settings, and size of 1024x1024. Press okay.
Now click on the 'Bake' button (21).

The ambient occlusion will have been 'baked' on this new image, you will see the effects in the UV view.
Press 'Image' – 'Invert' – 'Invert Image Colors' this will make the AO image have a predominantly white appearance, need to work with Banished.
Press 'Image' – 'Save as Image', save as an RGB (22) .png file, I named mine SmallTownHomeAO.png
Click on 'Save as image' (23)
Back in the UV view, click on 'UVs' - 'Export UV Layout' – change the 'Fill Opacity' to 0.000 (24).
I named my file SmallTownHomeUV.png, ensure it is saving as .png, click on 'Export UV Layout' (25)

Enter into 'Object mode', select the plane we made just prior to baking the AO, and delete it as it is no longer needed.
Save your file.
.... Texturing
Now open up your SmallTownHomeUV.png image in a Image Editing program, I am using Adobe Photoshop, but there are plenty of others (and free ones) that can be used.
We want to now start adding textures to fit within the UV lines,
Put your textures into separate 'Layers' for easier editing..
All sorts of textures can be found on the internet for free use (I got all of these textures from Textures.com – requires setting up a free account)
This is what I have done for the textures:

Before saving I hide the UV lines, then I save the image as a .png format (SmallTownHome.png).
.... creating the Build models
Back into Blender.
Load up your .blend model of the house if not already.
Then 'File' – 'Export' – 'FBX' keep all settings as is, make sure scale is set to 1.00 , pick a file name, I saved mine as SmallTownHome_nopoints.fbx
Save your file.
Back into 'Edit mode',
and now for what I think the fun part is.... making the build models.
Before you start it is a good idea to firstly save this file again but as a different save – call it something like SmallTownHome_build02.blend
Now, in 'Edit mode' start deleting parts and moving sections of the mesh as if you were dismantling the house in reverse to someone building it...
For example I deleted the roof first, then I deleted the door and windows and all the walls. (depending on your design you could incorporate more build models, but in this tutorial I'm trying to keep it pretty simple)

From here I save again (as SmallTownHome_build02.blend), then I export this an .fbx like we did earlier.
Now save a new .blend save – build01
Delete more, or move things around like they have just gotten to building site. Build 01 is what you see after the resources have been taken to the houses footprint.

Build 01, saved and exported as an .fbx file also.
Now that all of our models are made, we can reopen up the complete house .blend save.
We now need to add 'points' for the game to interact with the building.
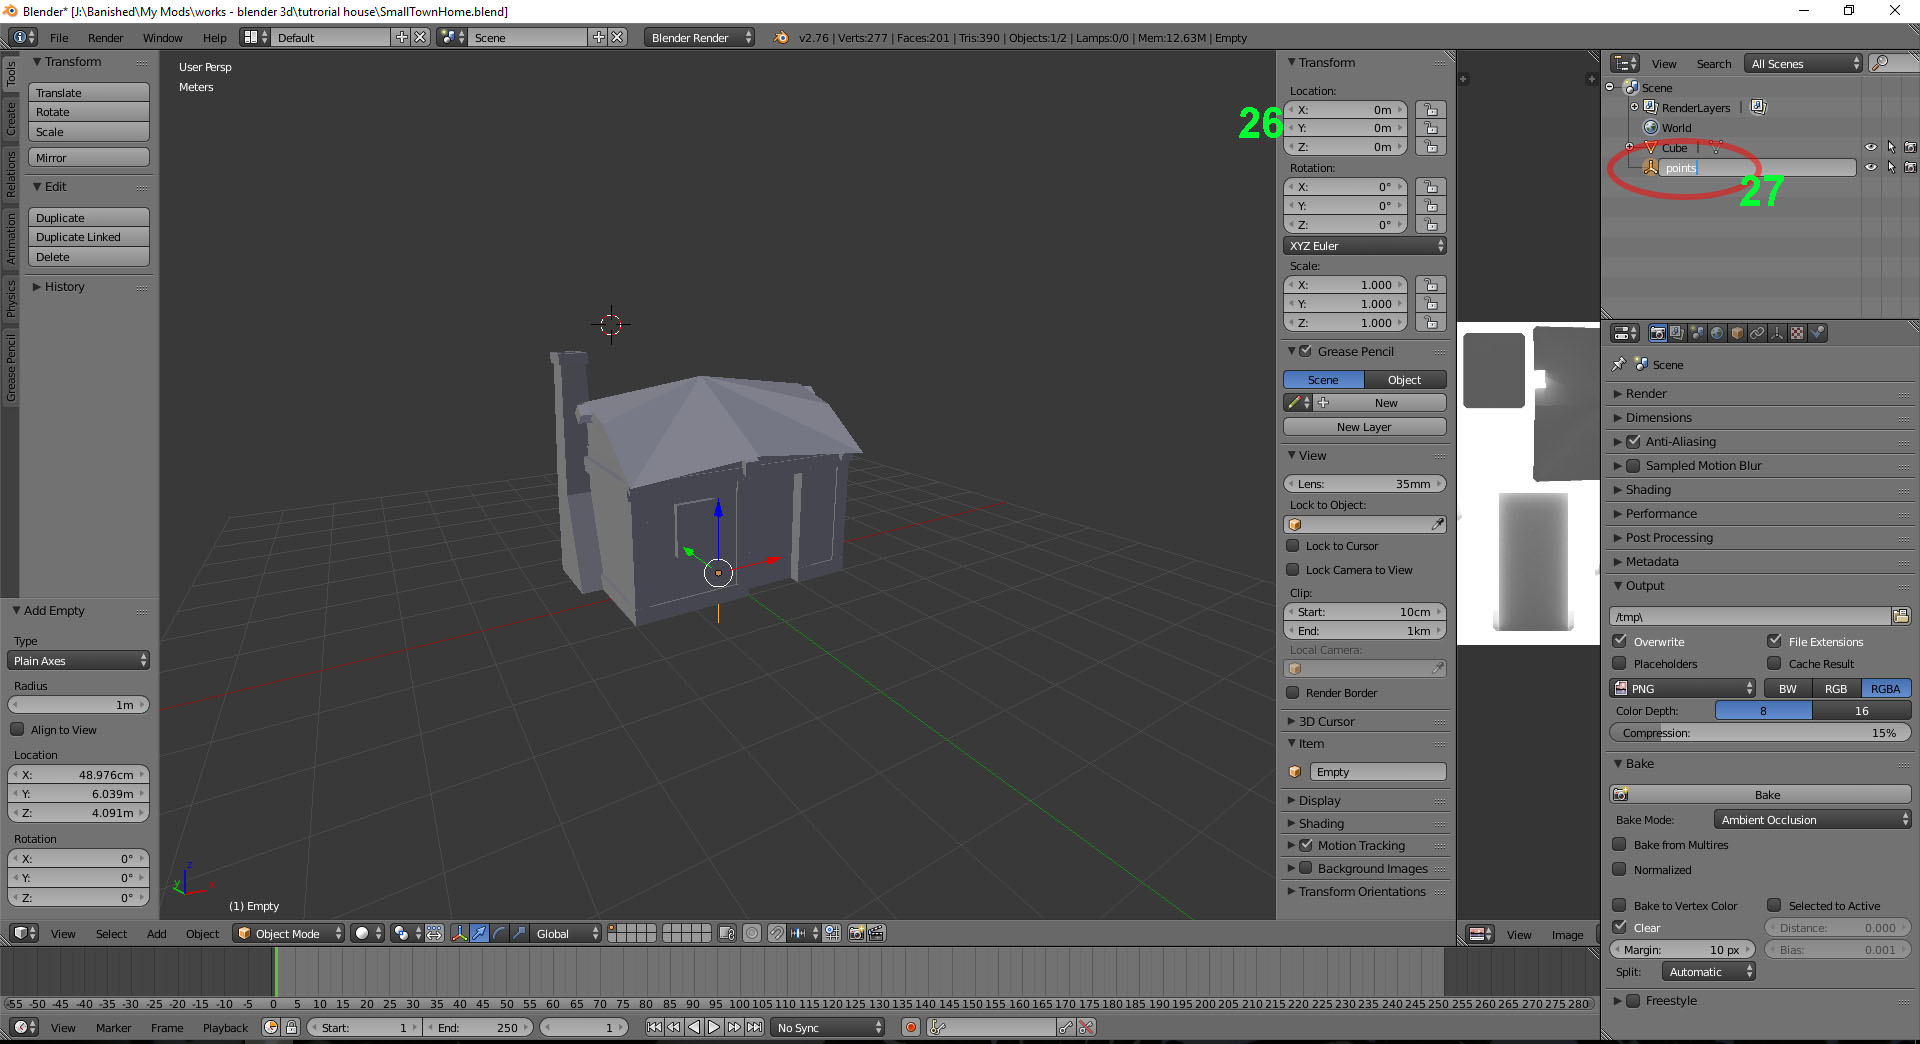
In 'Object mode', press shift + A and 'Add' – 'Empty' – 'Plain Axes'
Using the 'Transform' properties menu window, orientate this so it is at 0,0,0 (26).
Then change the name of this to 'points' (27)
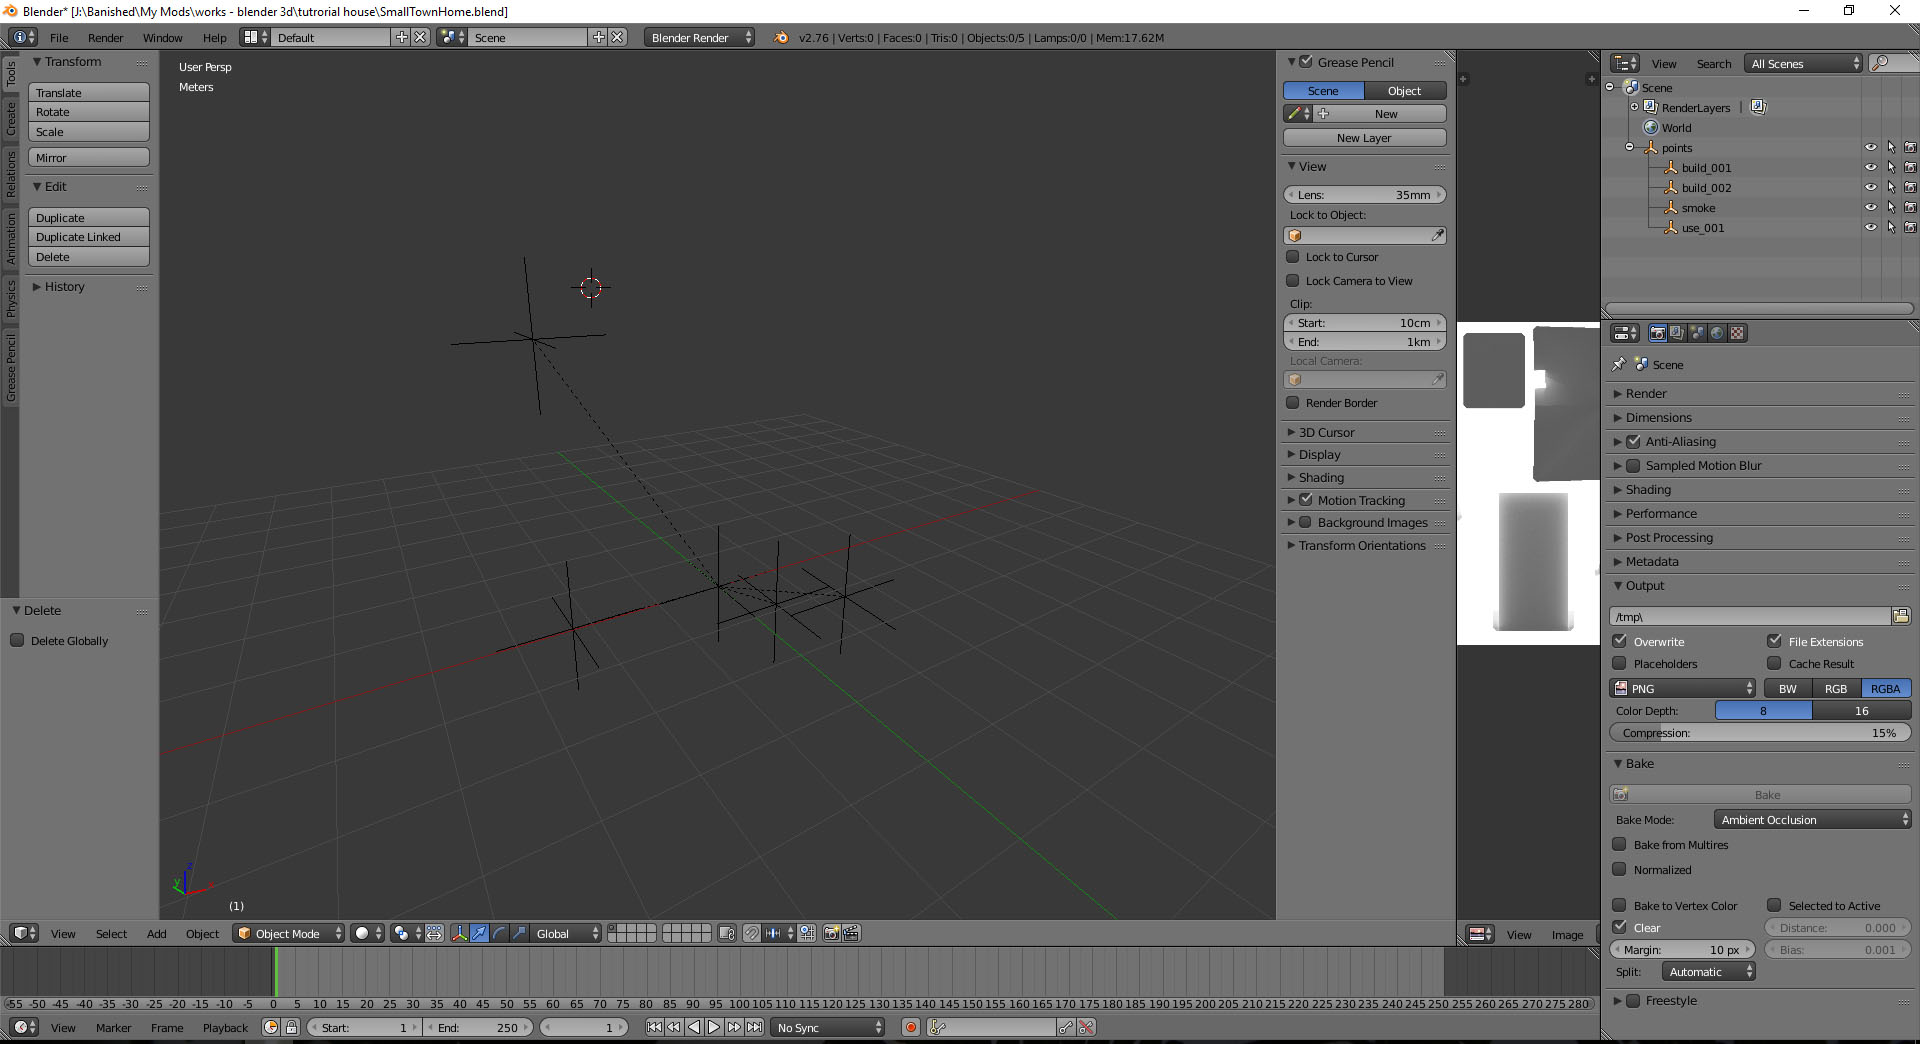
Add in more points in the same manner, this time, keep them all at ground level (z-axis=0), name them:
build_001
build_002
use_001
by clicking on the little icons next to the names of the points, drag them all onto the 'points' to 'Drop to Select Parent' it should look like this:

Now add in a new point, this time it will be called 'smoke', move it so that it is sitting within the chimney slightly, set it's parent to 'points'.
Save the file.
Now delete the house mesh object, so you will only have the points.
Export this as an FBX, (SmallTownHome_points.fbx)
Now you can close blender (don't save when prompted otherwise you will loose you model
… in part 4 we will be creating all the code. We are getting close to finishing
Creating a 3d model house in blender and making it available in the Banished Game by Discrepancy
Tutorials created by Discrepancy and posted on the "World of Banished" website on creating a 3d model house in blender and making it available in the Banished Game
Any questions please post them in this Q&A in the Banished Club
https://community.simtropolis.com/forums/forum/374-questions/


Sign In or register to comment...
To comment in reply, you must be a community member
Sign In
Already have an account? Sign in here.
Sign In NowCreate an Account
Sign up to join our friendly community. It's easy!
Register a New Account