


Hold the Line! (The Battle of Chateaubriand)


Hold the Line
After the Battle of the Castello, the situation on the ground in the eastern theater was as shown on the map below.


Queensferry has pressed all the way to the defensive line anchored by Chateau Briand. There is no fancy strategy for Queensferry at this point. With troops and an ever-growing supply of materiel on the ground, brute force would be used to punch through the line and capture the island. Thousands of troops have been deployed and they have the artillery needed to do the job. Here's the simple plan:
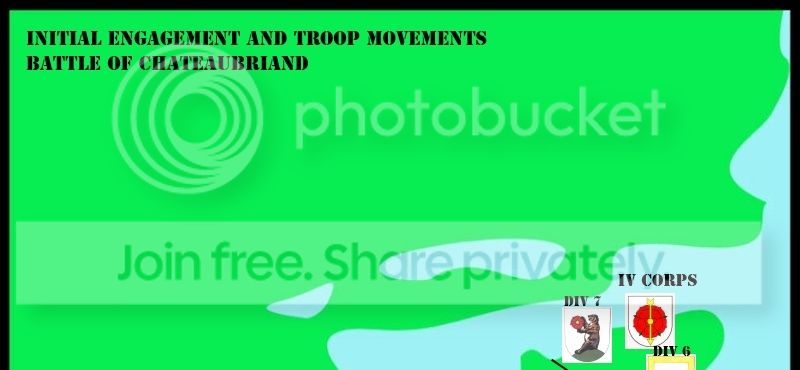

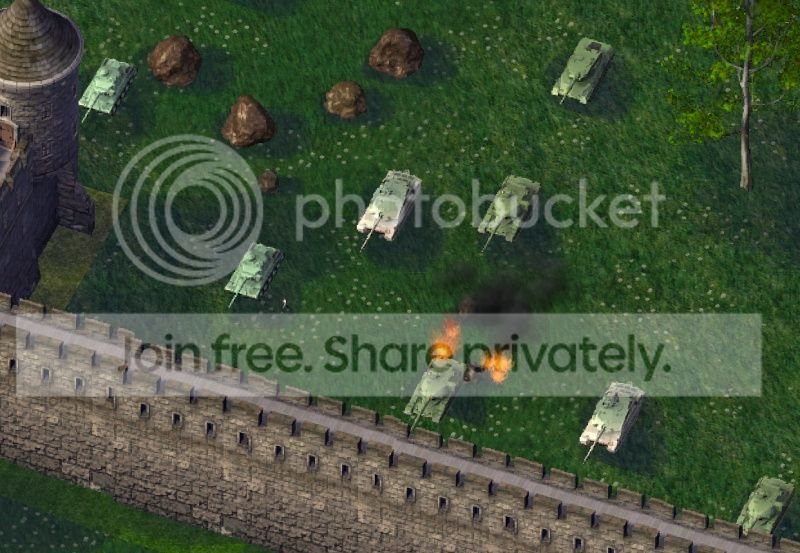
Queensferry's army will face the bulk of the army's IV Corps, including all of Divisions 6 and 7. Embedded members of the BFA 29th Division TRT are also in position to defend. And, here's what they see.
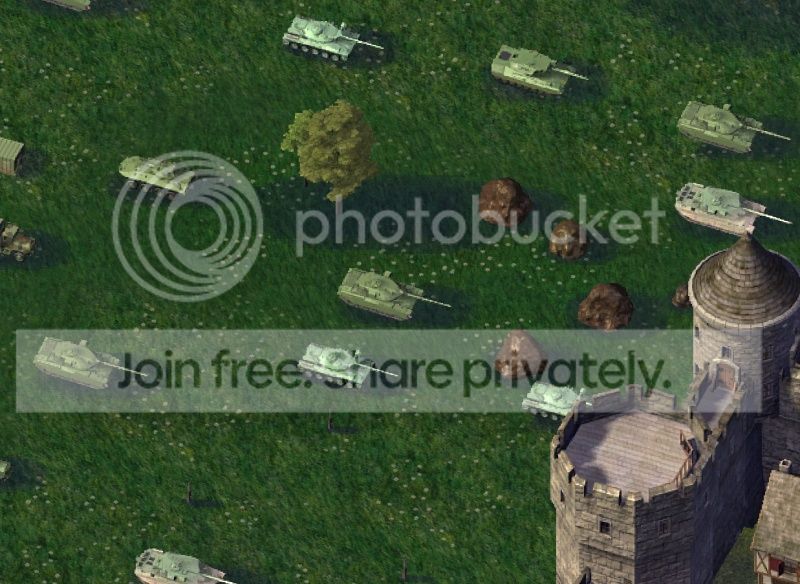

This enemy force looks quite formidable.

There's no point in waiting for the enemy to get into position; we need to strike now!
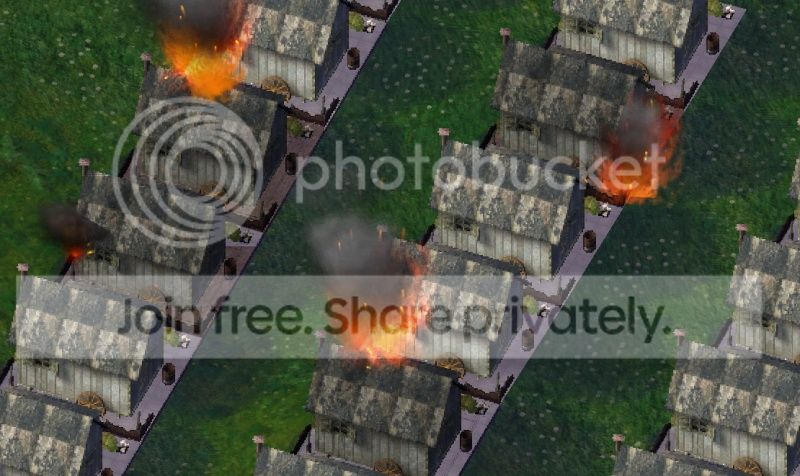
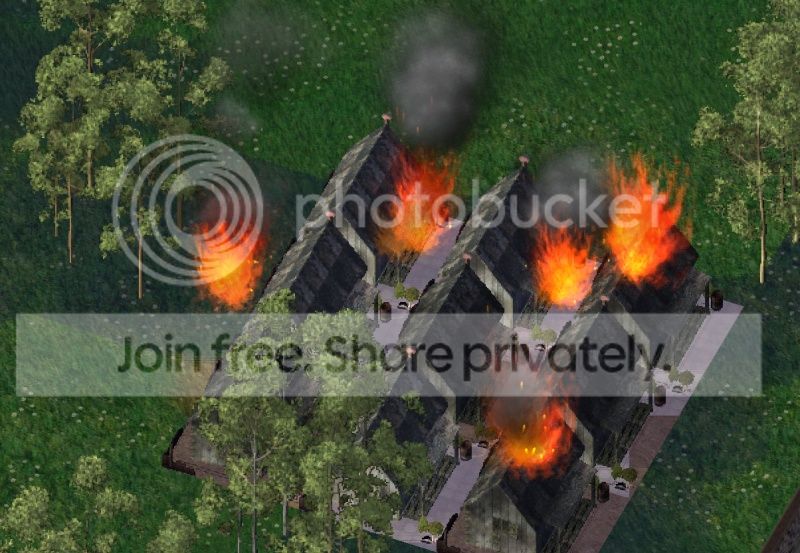
And attack we shall. As soon as enemy targets got within sight, Lt. Gen. Catalan (IV Corps, SNA) gave the order - fire at will. And the troops responded. Catapults launched flaming debris over the walls... archers shot flaming arrows at armored vehicles... marksmen fired crossbows at every enemy within range. TRT squads were dispatched to outflank the enemy on the right side and create havoc on enemy supply lines and slow their advance.

A hit!
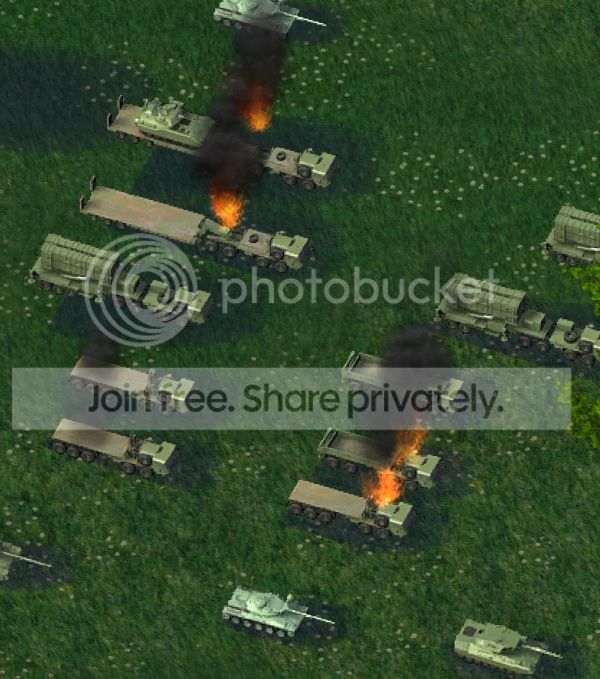
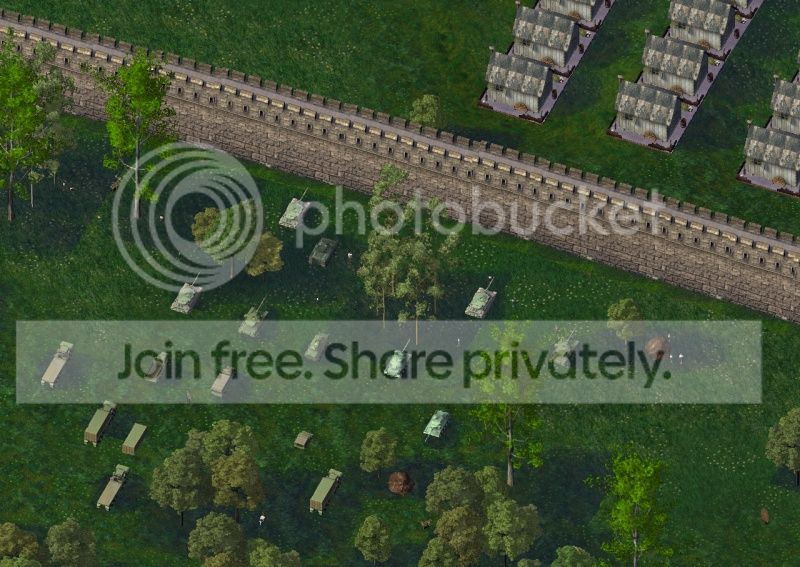
More hits! These rear echelon vehicles were targeted by TRT squads; one led by Sgt. Major Michael Archean and one by Major Hester Tubaflame.
Catapults and archers claim another casualty.

They did not expect such fierce resistance. There goes another tank.

The TRT strikes again! Thousands of bullets and mortar rounds were blown up. Unfortunately, Corporal James D. Logan was mortally wounded by enemy return fire. He will have eight more lives to defeat the evil invaders.

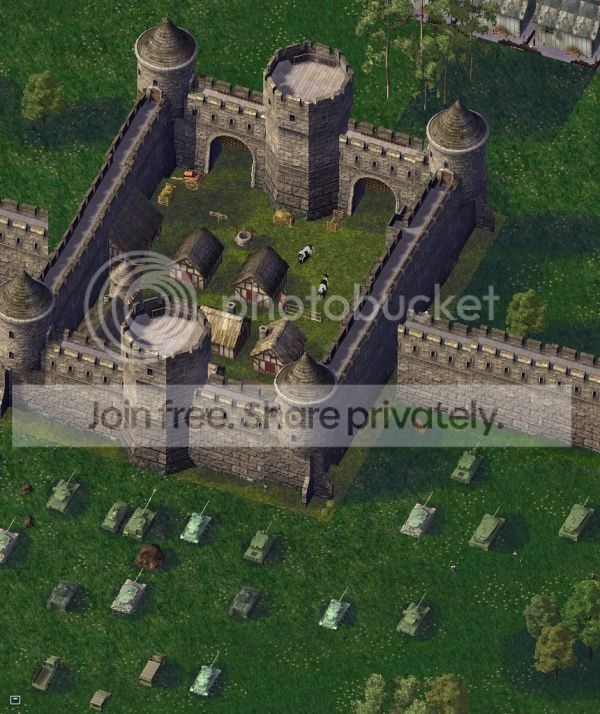
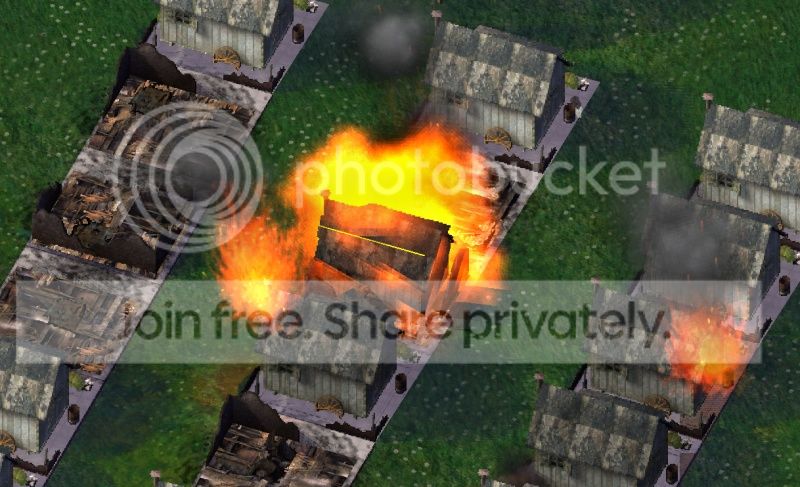
Despite our success, the assault on our positions continued...
Queensferry's 18th Armored Dung Beetle Regiment continued the relentless assault on our positions. Supported by helicopter gunships, they blasted away at the wall and our positions behind the line.


As our fortified line began to weaken and our base camps fell under increasing attack, it was decided to fall back to the northern end of the island. Hopefully, ships from the second and third fleets would be in position to help evacuate personnel before the island could be overrun. Being captured is not a good option when facing Queensferry.

As losses mounted and the defensive front weakened, the decision to withdraw was logical, though the wall had yet to be fully breached.
The cost of remaining was high and the outcome not in doubt. The island would fall into enemy hands. It would most likely become a base of operations for a campaign of continued aggression against Schulmania. Though this battle is certainly a setback, our forces will regroup along the east coast and be prepared for the inevitable invasion.


Our Schulmania site visitors:


Thanks for coming!

4 Comments
Recommended Comments
Sign In or register to comment...
To comment in reply, you must be a community member
Sign In
Already have an account? Sign in here.
Sign In NowCreate an Account
Sign up to join our friendly community. It's easy!
Register a New Account